The farmer asked us if we could place additional mason bees into his orchard besides the ones going into Charlie’s yurt located at the front of the orchard. We chose a spot in the middle of his orchard, away from Charlie’s yurt. The orchard is located in the Fraser valley, BC.
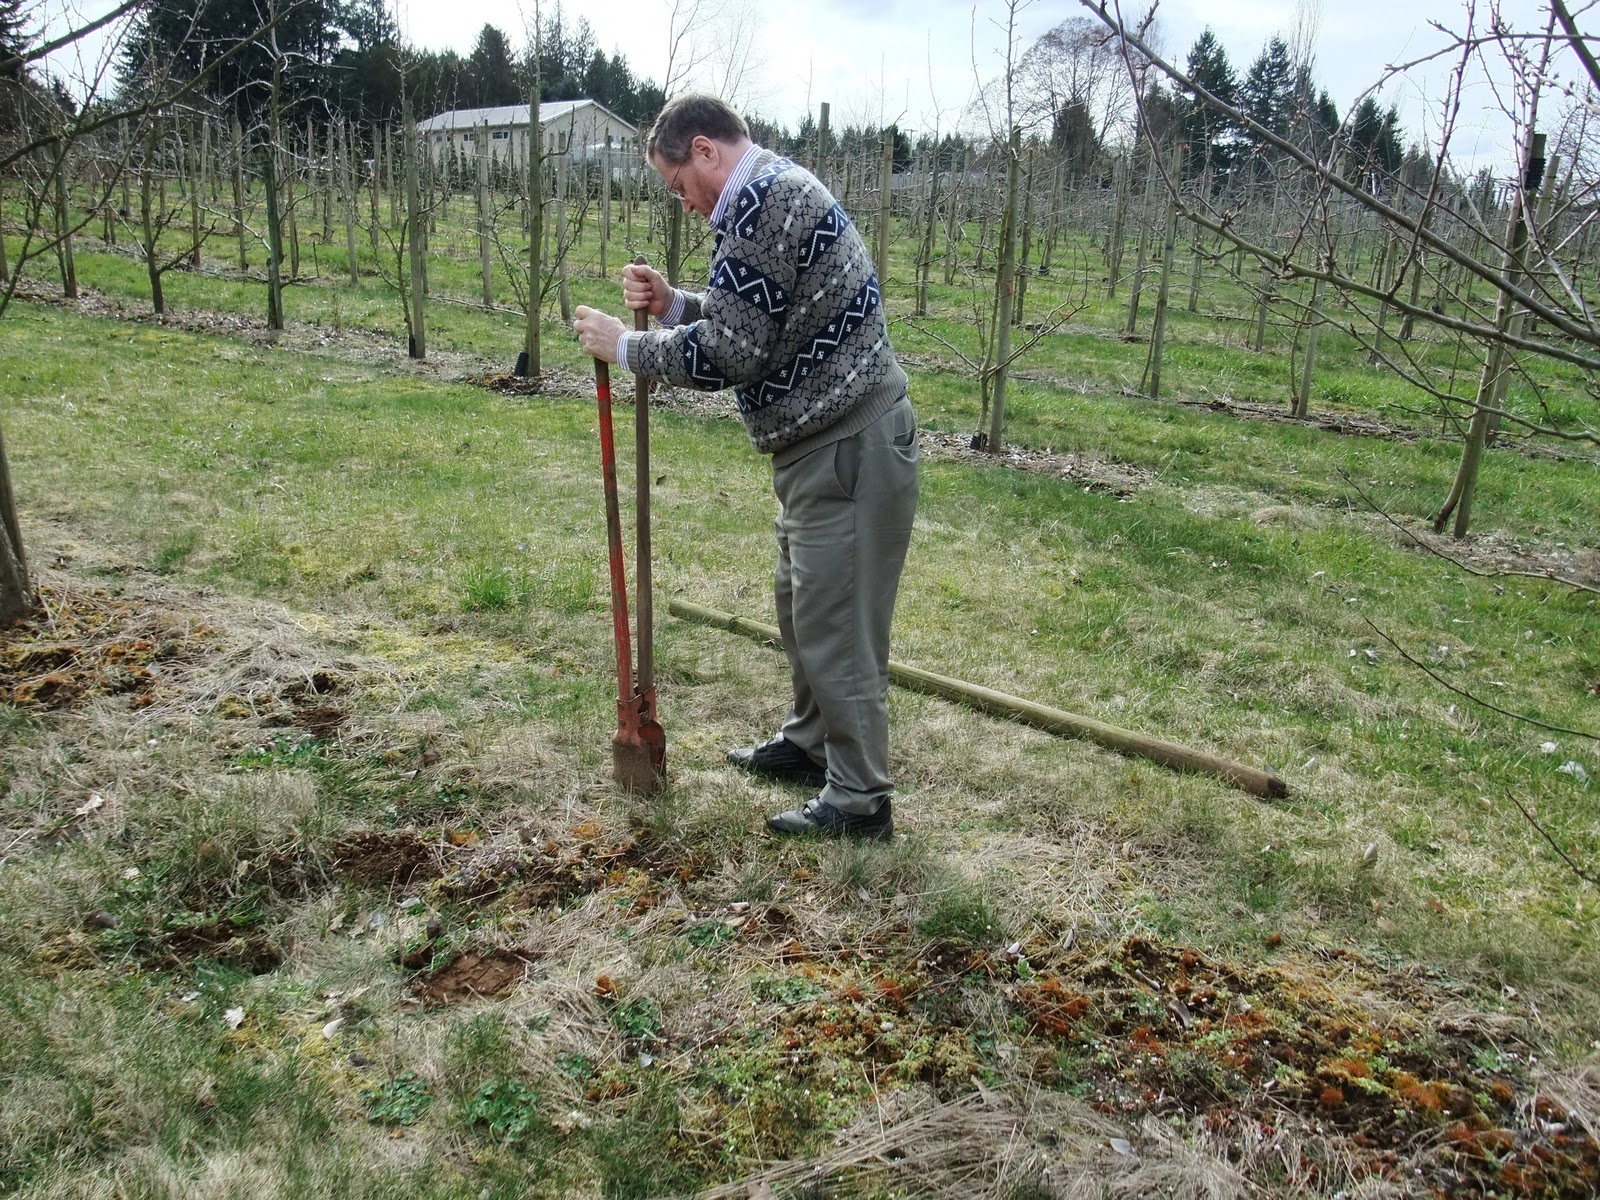
- Our very first job in the orchard was to dig a hole for a post. Here is Tim digging a hole with a post-hole digger. The yurt will be tied to this post, so it does not topple over in a strong wind.

- All parts of the yurt were hauled to the site in a wheelbarrow. The wheelbarrow contains uprights and tarp that goes around the yurt. On the ground you can see the roof hexagon and the ground hexagon. The white roof tarp is on top of both hexagons.
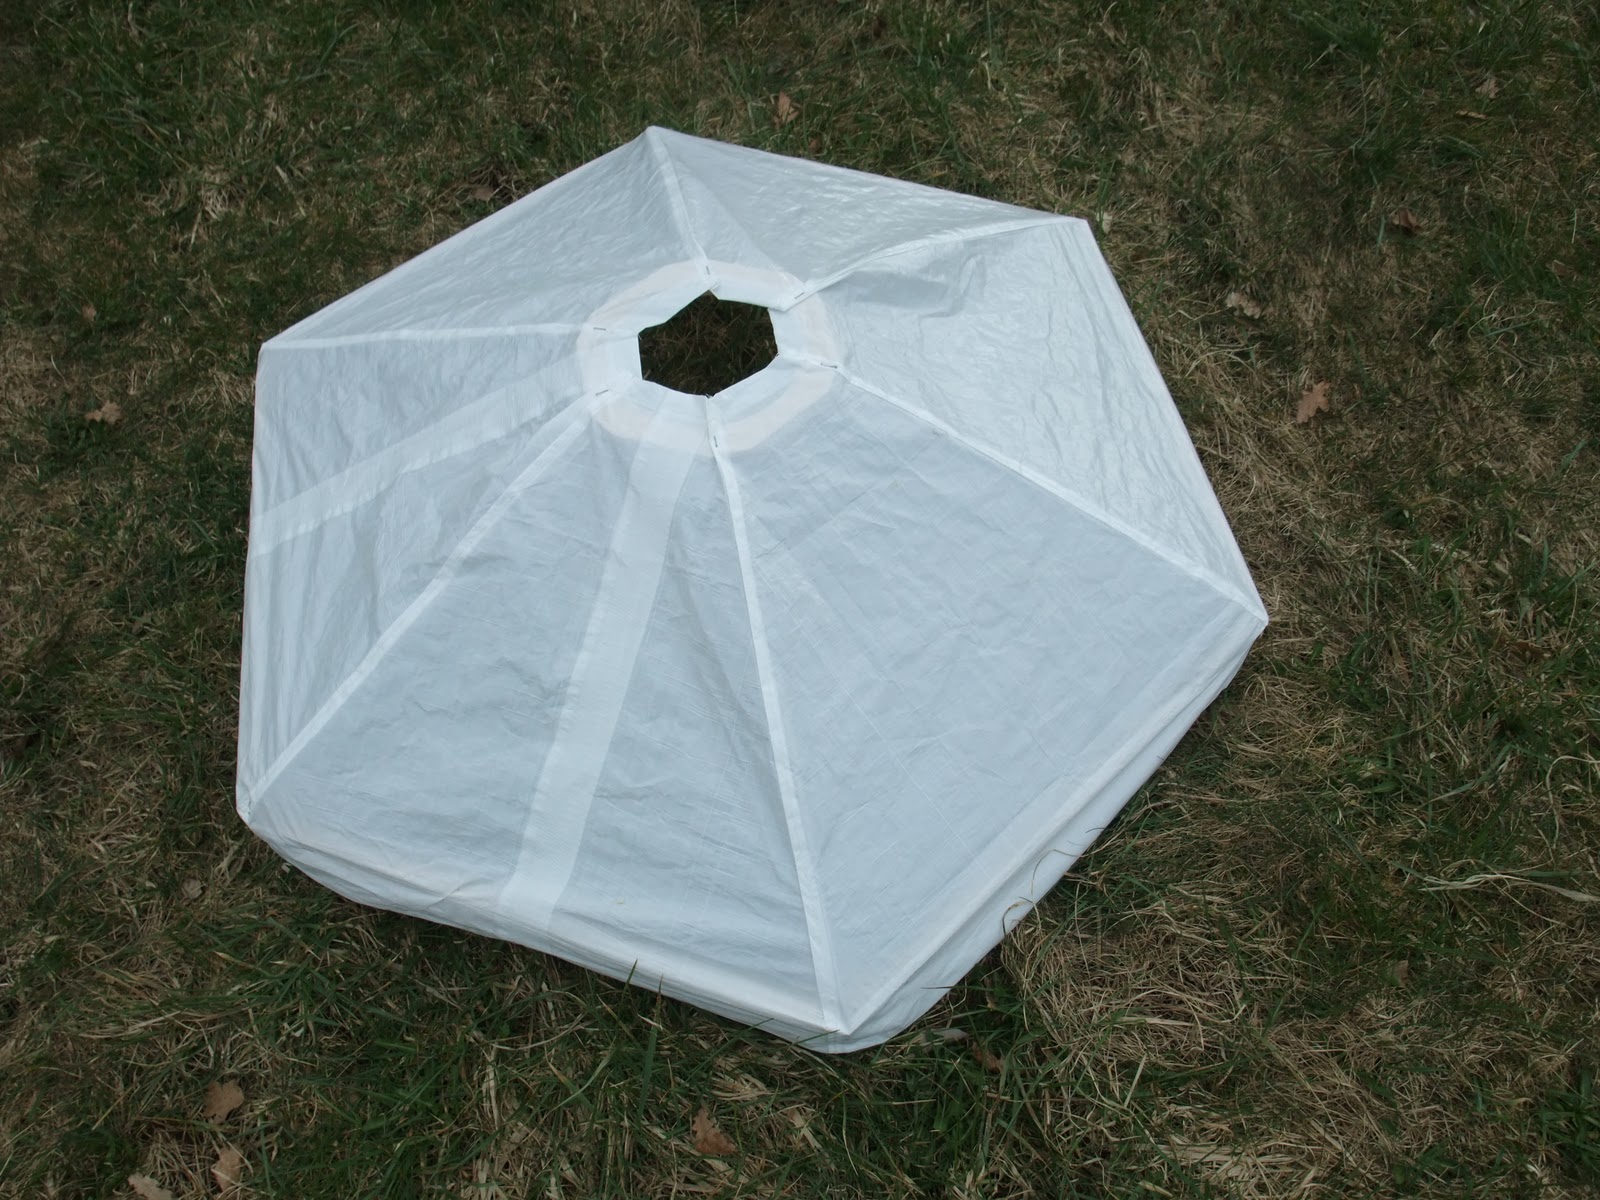
We assembled the roof by inserting 6 metal rods into the hexagon and the roof center piece. The six metal rods keep the roof tarp at a nice slope to keep the rain from pooling on the tarp. The roof-tarp is then stapled onto the center piece, and then onto the roof-hexagon.
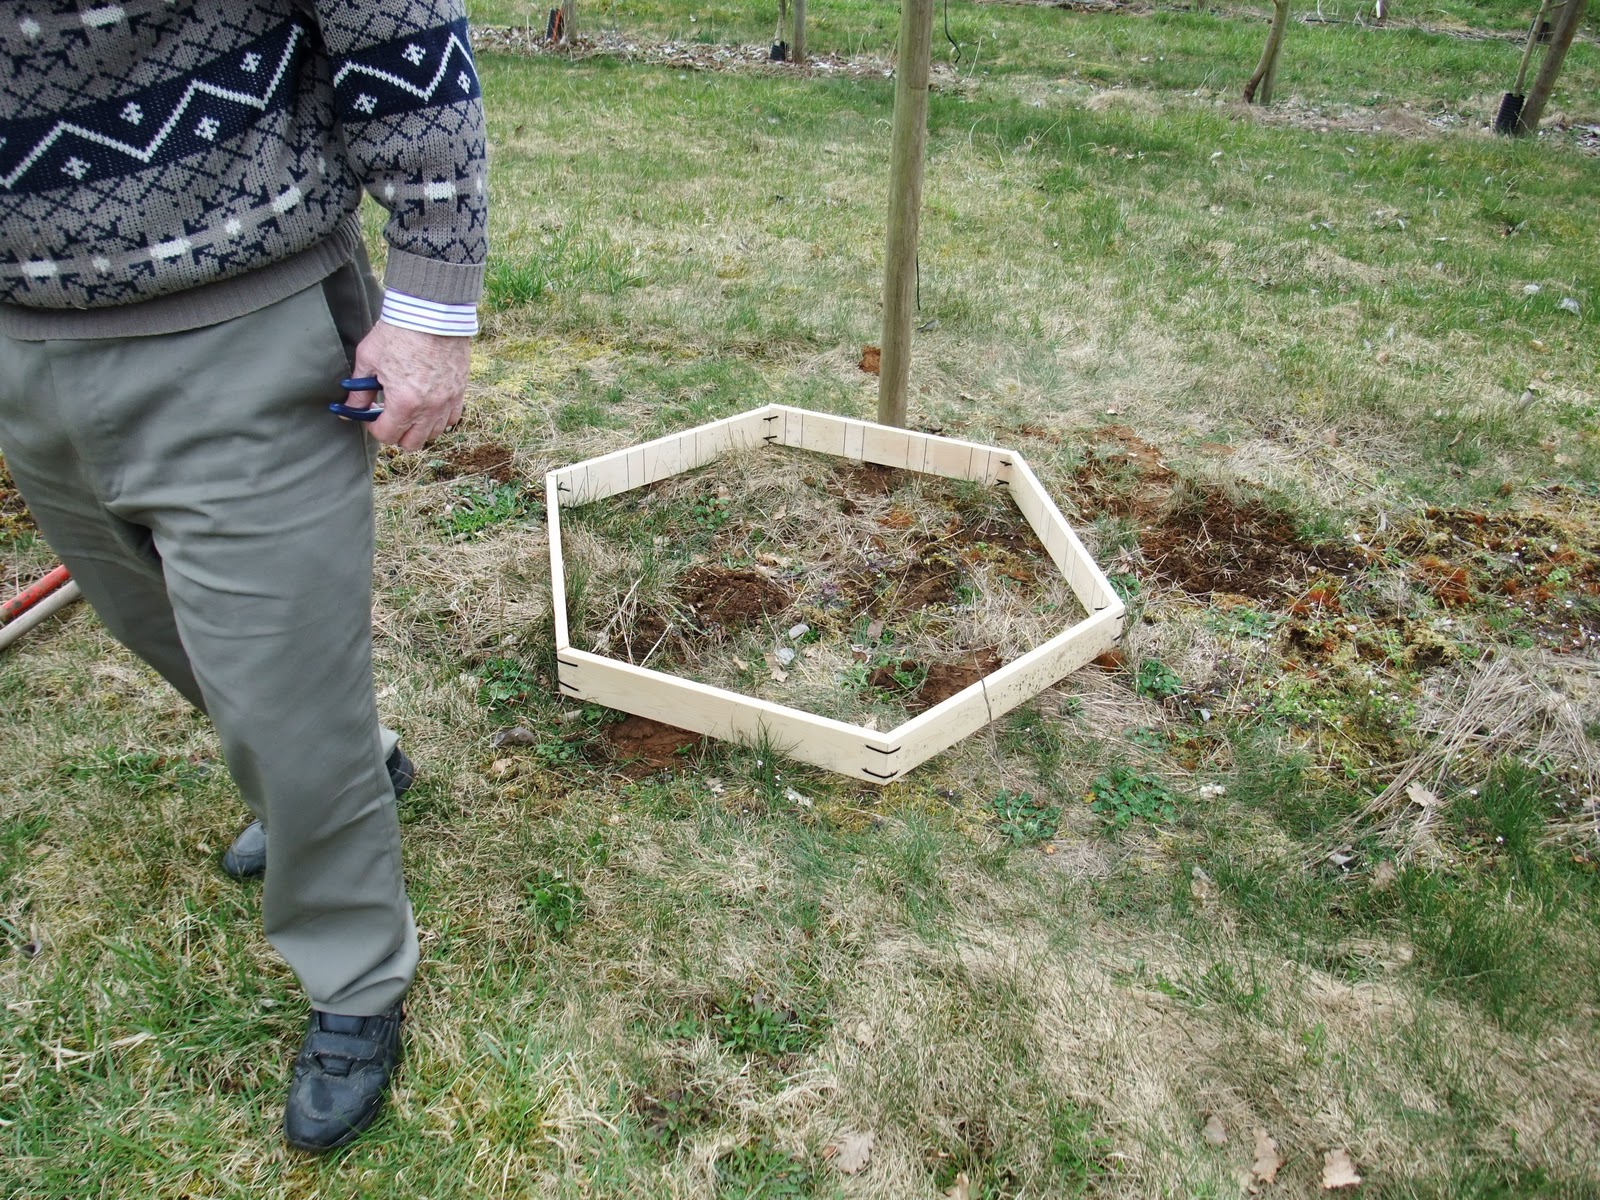
- The ground-hexagon was set down in place adjacent to the post.
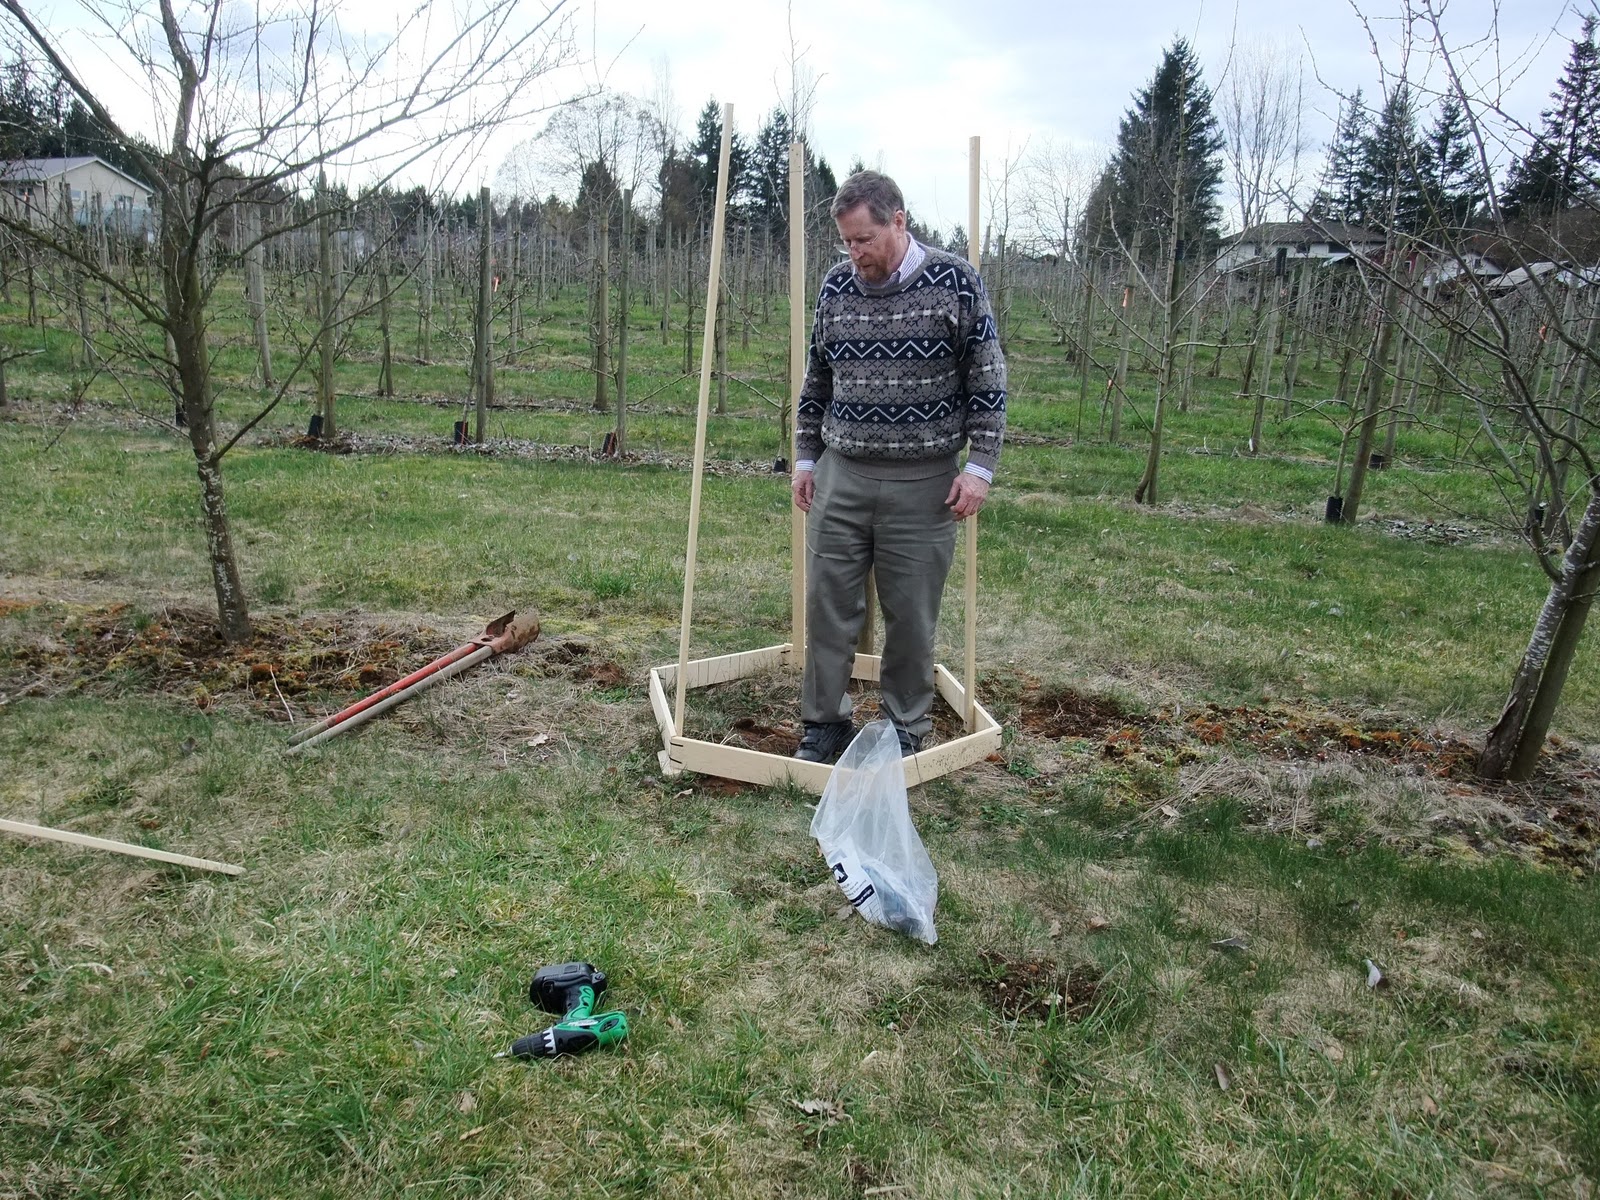
- Using screws and a drill, 3 uprights were attached to the ground-hexagon. A drill and a bag of screws are in the foreground.
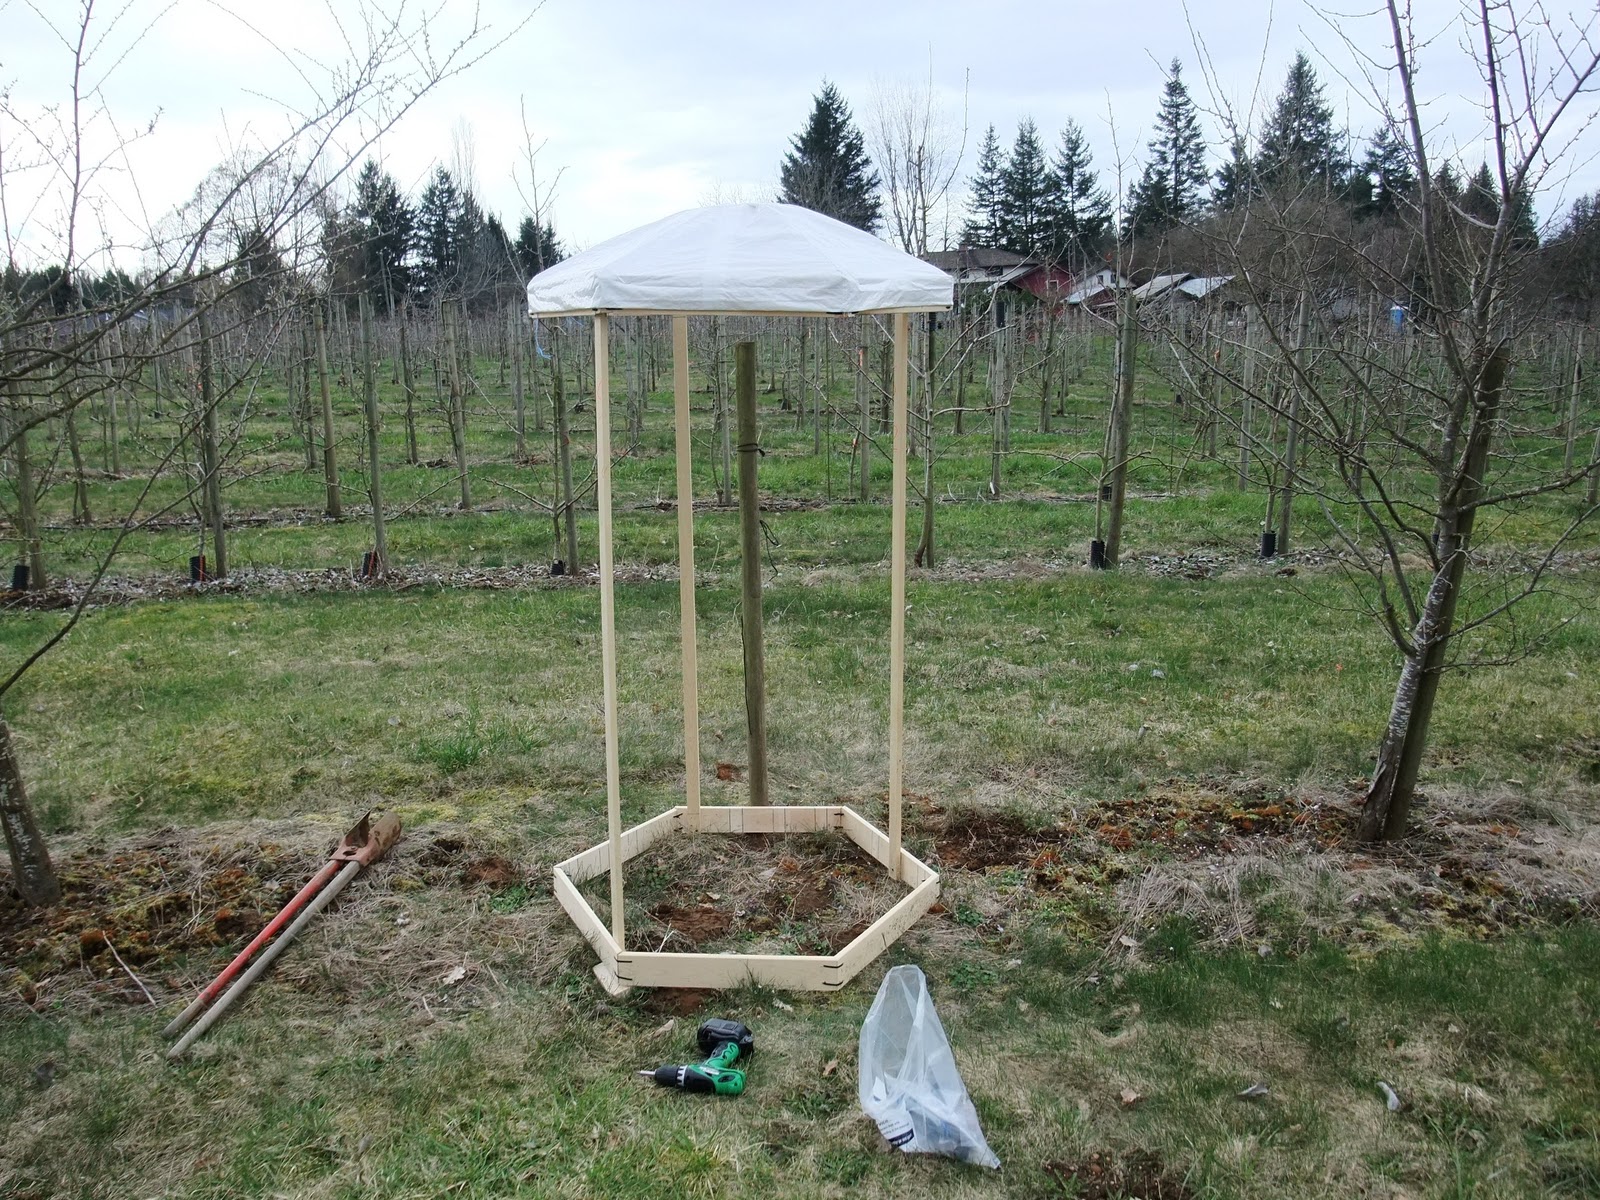
- The fully assembled roof was screwed into position at the top of the three uprights.

- The yurt was completed by attaching remaining uprights and stapling the tarp surrounds under the roof tarp. Finally a rope was used to tie down yurt to the post.
Now that this yurt is in place, the next thing is to hang Highrises in place, and set out mason bee cocoons.