| Here are John’s photos of his very economical set up for mason bees. It protects bees from chilling spring winds, and provides extra warmth to mason bee nests. The full length tarp that goes to the ground keeps the wind out. To keep all the wind out from entering the base of the structure, cover bottom of tarp with mulch or some soil.
Advantages over the Beediverse Yurt is that with John’s field shelter you don’t have to deal with fitting a tarp over a hexagon roof with a hole it it. It is not easy. The field shelter’s roof is simply a piece of plywood. John’s mason bee field shelter is very economical. Here is John’s list of Materials and instructions:
1-9×12 tarp – blue
6 – lath strips or equivalent
1-42x72x1/2 or better plywood for back side
1-42x48x3/8 plywood, primed one side for roof
4-2×2 or 2×3 x96 posts- for vertical support
4 or 6 ell brackets for shelf support
Drive posts into earth at 42 inch intervals, attach back plate on north side, then roof with overhang. Provide bracing with lath at 45 degree angle for wind. Keep front posts 6 inches higher than back to run rain.
Wrap with tarp leaving 6 inch opening at the front[south]. Use 1 1/2 in. screws at grommet holes for ease of attachment and removal. Attach ell brackets for shelf support as required.
Now your bees will much warmer and so much busier.
|
| John starts off with setting 4 sturdy posts into the ground. Then secures a 1/4 ” sheet of slightly slanting plywood onto the 4 posts. Between 2 posts, he attaches – with screws a 1/2 sheet of plywood. He attaches shelving to the plywood and the two posts. Nests are set onto shelves. |

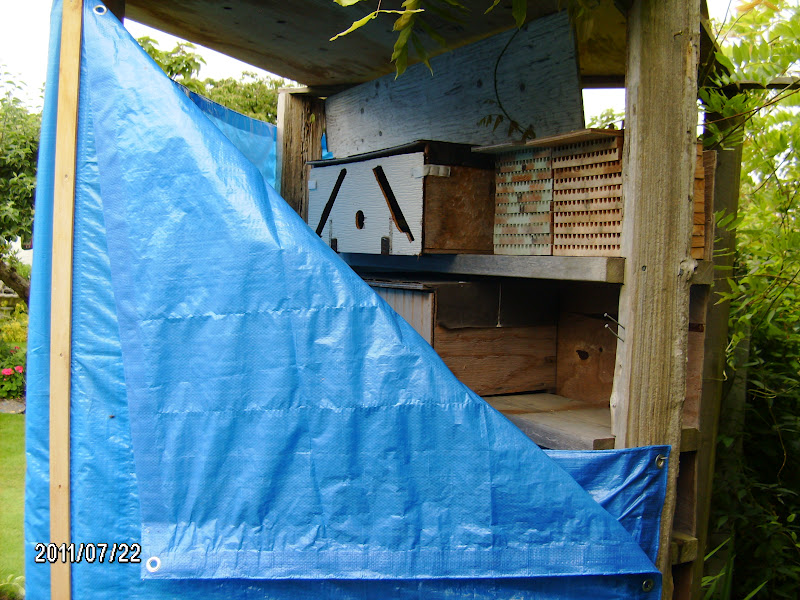 |
| Here is a closer look at the shelving. On the right hand side are routered wooden nests. On the left are boxes with angled 1″ wide slats with Quicklock trays inside the box. |
 |
| Blue shelter complete. Once nests are in place with bees are set out in emerging boxes, tarp is wrapped around all 4 sides- leaving a gap of at least 8″ between roof (1/4 sheet of plywood) and the top of the tarp. Note wood slats are stapled over tarp and onto posts to keep them place. |
 |
| This is the second version with a cross piece that helps stabilize the structure. |